Working with Orders
The Cashiering Home tab grid buttons provide additional functionality when working with orders.
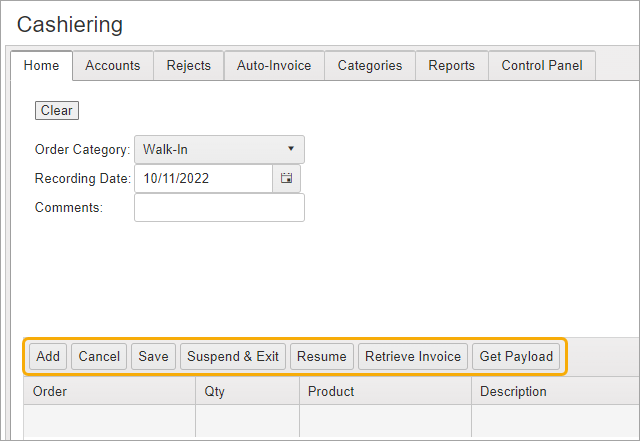
Cashiering Grid Buttons
Click the links below to learn more about each button.
Use the Add button to add an item row in the grid. The new row will default to “1” in the Qty field which can adjusted. Tab to the Product field to choose the product to be added.
For more information, see:
Closes out the item without saving.
Saves the item to the order. Once you save an item, a temporary Order # is created and displayed in the upper right corner.
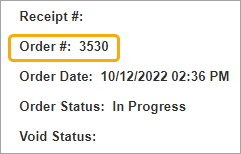
NOTE: The final Order # is generated upon payment.
Once you have added an item to the order and saved it, you can click Suspend & Exit and come back later to work on it.

Click Confirm to Suspend & Exit.

To reopen suspended orders, click Resume.

This will bring up the Suspended Invoices screen which lists all documents waiting to be processed and paid.

Use a filter such as InvoiceID, date, or user name to bring up the desired order and then click Select to open it.
For example, to find orders a user created:
-
Enter a few characters of the user name.
-
Select the name.
The list of open orders created by this user will be displayed.

If the order is no longer needed, you can click Delete.

Retrieve Invoice will find paid orders in the “Completed” status.
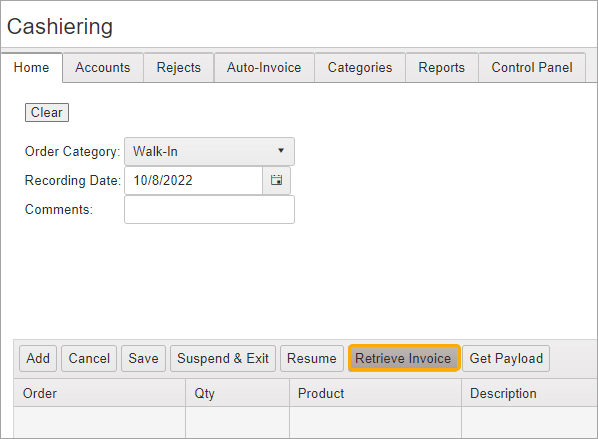
The Processed Invoices window opens a list of items which can be reviewed, scanned, or voided.
For more information, see:
Get Payload is used to bring eRecordings in to process. If approved, they can be cashiered.
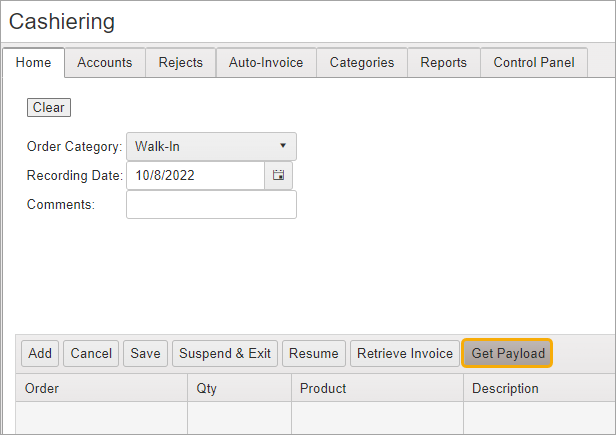
Click Get Payload.
A message shows that the Payload loaded successfully.
The next order item in the queue is displayed in the grid.
Click View Recording to begin the review process.

The document viewer opens.
The red text boxes are electronic stamps that can be moved around for ideal placement or removed if not needed.
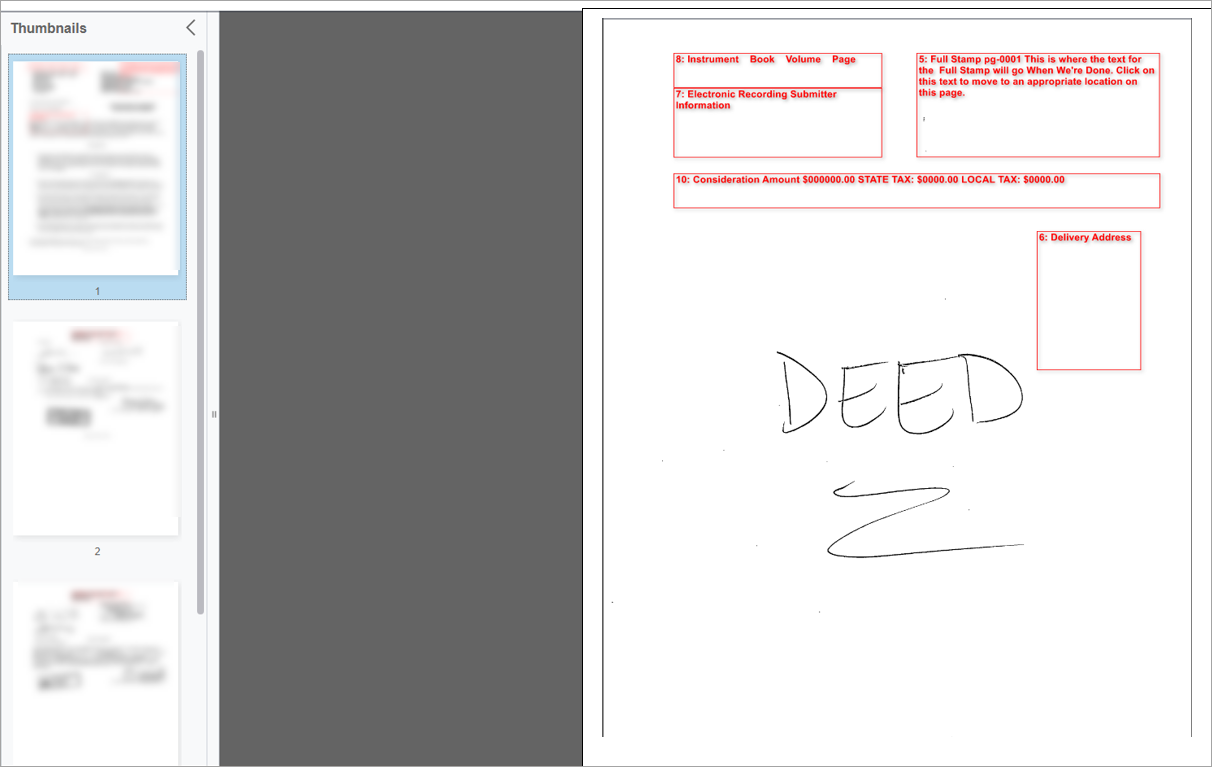
Use the scroll bar to scroll down and review each page of the document.
A green-checkmark icon is applied to each thumbnail image once it has been viewed.
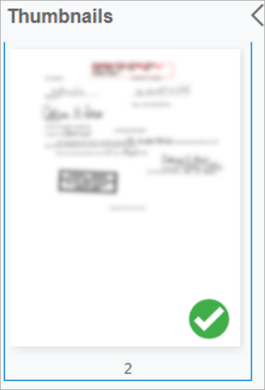
NOTE: This icon will also appear in the Doc Status column on the grid while item is In Progress.

After reviewing the document, you can close the browser tab if you like. Or leave it open to continue the review process.

NOTE: For more information on the Document Viewer, see Using the Document Viewer.
The Recording Page is displayed. Review the details including:
-
Instrument Type
-
# of Pages
-
Grantor and Grantee (if provided)
-
Fees
Update this information if it is incorrect.
If acceptable, click Accept.
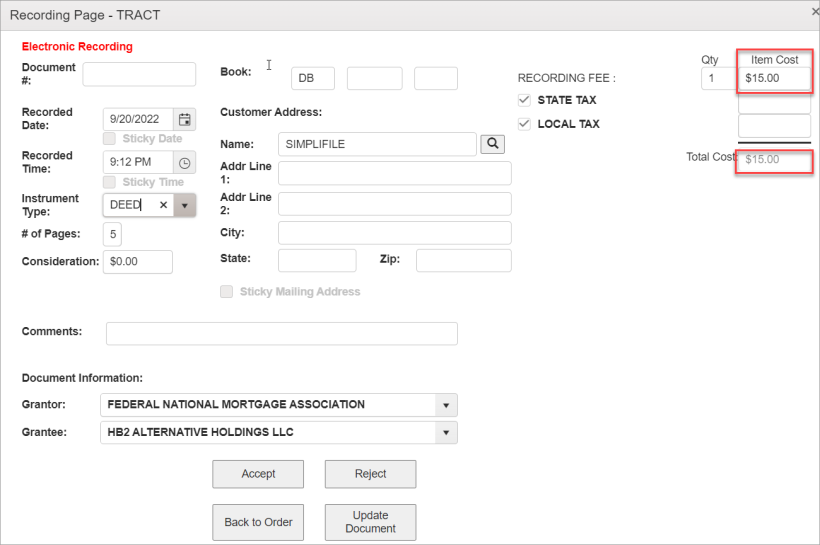
If unacceptable, click Reject and provide reasons. The entire package, along with the reject reasons, will be sent back to the submitter.
For more information, see:
After you have processed the document, if there are additional documents in the package, the next image is displayed and the details brought up on the Recording Page.
If you have accepted all the items in the package, a message prompts you to post the documents.
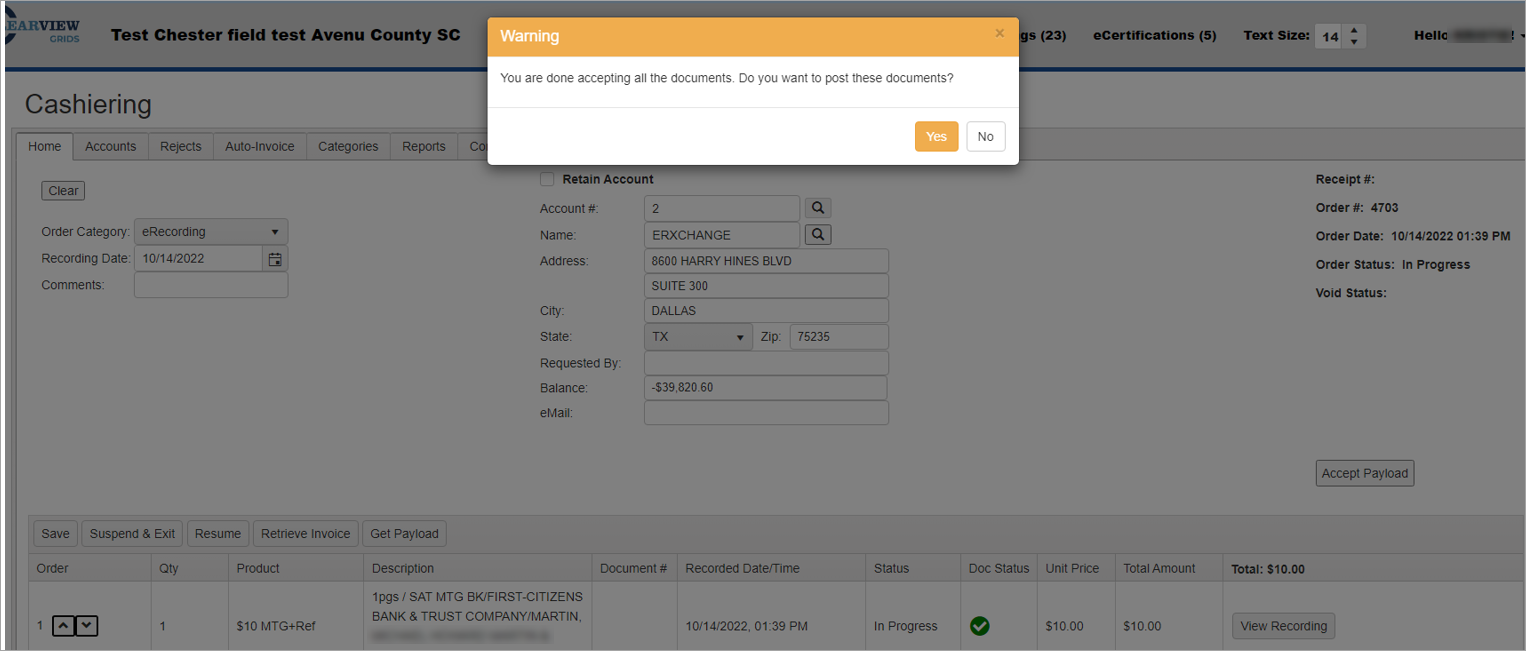
Click Yes if you choose to post.
The system performs the following steps:
-
Assigns instrument numbers and book/page numbers
-
Saves the receipt
-
Imports the image and connects it to the instrument
-
Returns the documents to the submitter with the appropriate stamps
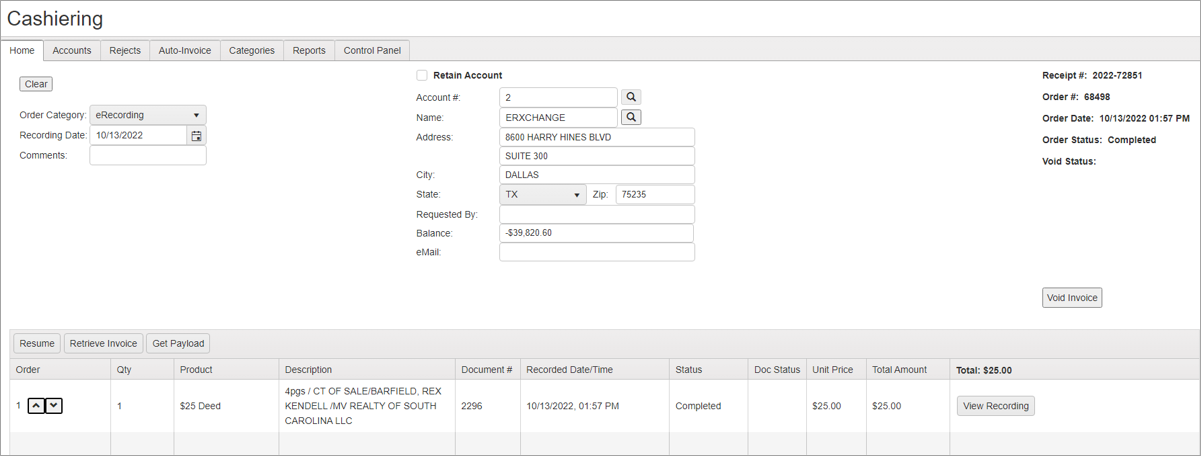
The Invoice or Order is now complete and shows the following system updates:
-
Receipt #: Assigned
-
Order #: Assigned
-
Order Status: Completed
For more information, see Cashiering Home Tab.